


I made small pillow boxes… perfect for cash, candy, jewelry, etc… but a little bit too small for a gift card. (Scroll down the to bottom of this post for a larger version). You could just print a template, cut, and assemble, but that ends out being complicated and you have to go through more steps that way. It is faster to just make these boxes from scratch.

) Fold creases at 2 inches and 4 inches so that the flaps are 2 inches, 2 inches, and half an inch.

(After I had written half of this tutorial, I searched for pillow boxes to see what else was out there, and came across this great tutorial from I Try DIY which is where I got the tip to use a CD for the arcs)
Step 3 – Fold over the half inch flap and apply glue. Apply pressure until the glue is completely dried. (Make sure that you also cut this flap along the arc of the CD.) Now push in the little almond flaps and your simple pillow box is complete.

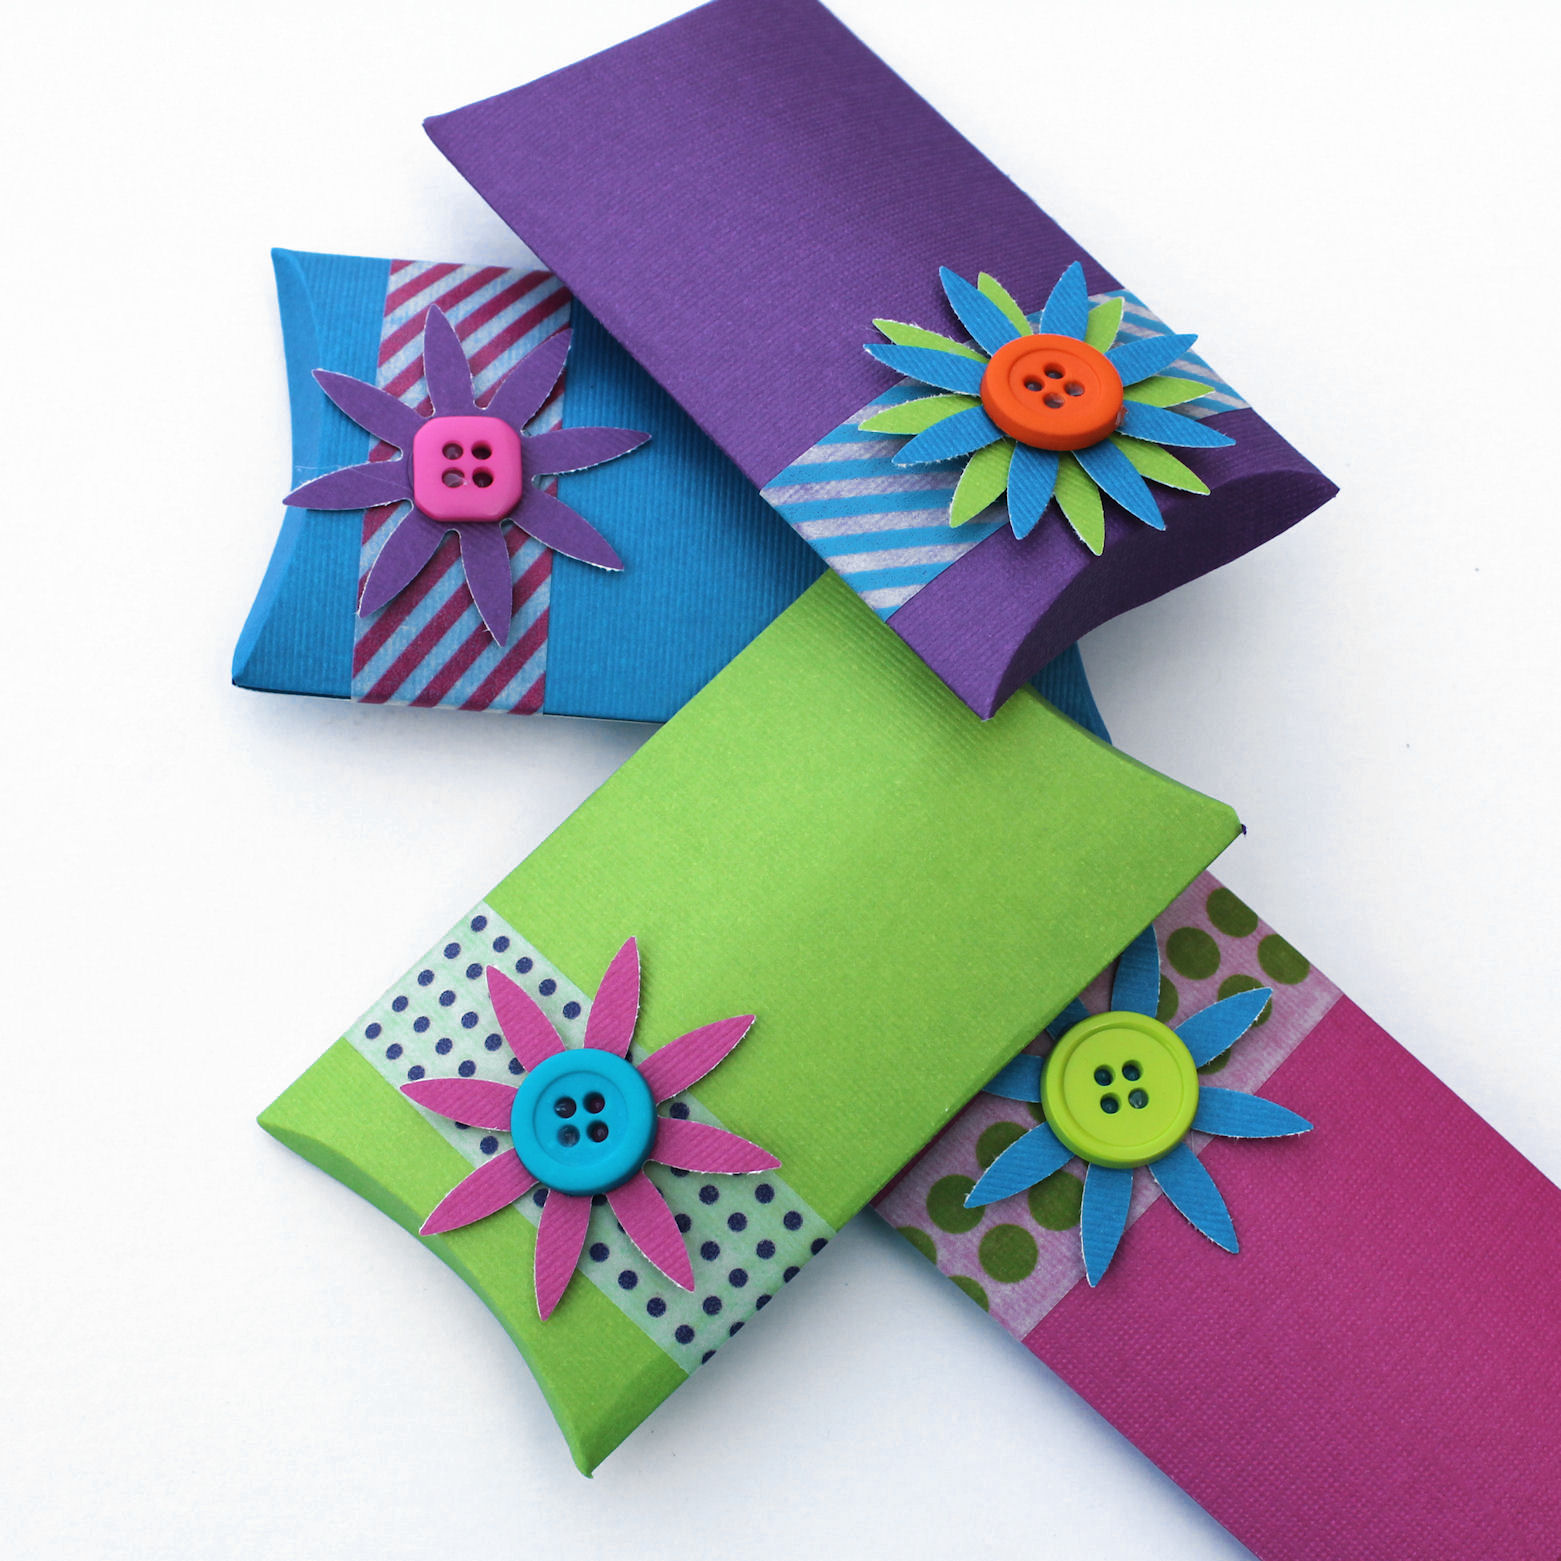
Step 4 – Decorate! Be creative. Use buttons, ribbon, twine, thread, scrapbook paper, washi tape, paper punches, stickers, stamps, paint, markers, etc… I used a strip of washi tape, a flower shaped paper punch (like this flower punch), and a button.


You can make these boxes in many different sizes. I made a larger version that worked well. Fold 2.5 inches, 2.5 inches, and half an inch. Then Make a rectangle that is 4.5 inches long, and use the CD to add the arcs. This larger size will hold a gift card.
Thanks for sharing this with us!I have to try do it by myself.These gift boxes are very nice and beautiful!!!
Wow. That looks SO easy. Great tutorial!
Great tutorial. Love all the colors you used too. Thanks so much for linking them up to LLL Thursday 🙂
xo,
Kelly
Thx so much for this great tutorial! I just used a store-bought one this weekend for a bracelet I made for a friend's birthday. So I will definitely be making my own from now on.
These are the most AWESOME boxes EVER!!! The tutorial is great!!
I sure HOPE you'll share this at From Dream To Reality… PLEASE!!
http://thediydreamer.blogspot.ca/2012/04/from-dream-to-reality-linky-party-11.html
Awesome tutorial!! Thanks for linking to Things I've Done Thursday!
I love the colours you have used. I also love that your tutorial doesn't use a template but instructions. notyhing to print. easy to do, great!
These are so cute! I followed you over from Southern Lovely and would like to invite you to share this, and any other posts, on my link party at http://www.michellestastycreations.blogspot.com. Have a great weekend.
Hugs,
Michelle
These gift boxes are so cute. I am definitely trying these! I have featured you today over at my pins of the week. Feel free to check it out
http://michellescraft.blogspot.com.au/2012/04/pins-of-week.html
Thanks again for the wonderful tutorial
Cute and colorful! Your tutorial was so easy to follow — love the tip to use a cd for the curved portion of the template! I would love it if you would consider linking to Busy Monday at A Pinch of Joy, a Sunday through Thursday link party for ideas that make life easier, better and more fun!
Smart and simple! Thank you for sharing this.
Great tutorial…Thanks!
So cute! I would love for you to share this with my Unveil Your Genius link party! http://taylornorris.blogspot.com/2012/04/unveil-your-genius-link-party-6.html
(New linky every Thursday…each linky runs for a week)
Happy Sunday!
Adorable! I love all the colour and embellishment combinations you used for these. Great way to incorporate washi tape!
Claire @ alittlesomethinginthemeantime.blogspot.com
These little boxes are so cute! I love the fun colors that you used. Thanks for the inspiration!
These are fabulous. I could totally see doing them as party or shower favors. Thanks for the idea.
Great little boxes!! My "Lines Across My Face" offering is here: http://likemamalikedaughter.blogspot.com/2012/04/how-to-tuesday-bunnys-birthday-dress.html
Hello! I featured this today from my Show & Share party! Thanks for sharing, I appreciate you!
http://southernlovely.blogspot.com/2012/04/show-share-35-features.html
These are cute! Thanks for the tutorial!
http://www.amgcrafts.blogspot.com
What a cute idea. A gift really should be as cute on the outside as is it special inside.
Susanne
Fantastic tutorial!! I love the bright colors. You always do such a great job! 🙂 Thanks for sharing at oopsey daisy!
I pinned it!
love these so beautiful
xxx
Wow these are fabulous! What a great way to wrap a present! Thanks for sharing at Beautify It Monday!
Thanks for the shout out! These pillow boxes are absolutely ADORABLE. 🙂
This is a fantastic project! I would love it if you would consider sharing it at my Pinworthy Projects Link Party over at Just Us Four!
Thanks for mentioning my blog! I've been getting some traffic from here. These pillow boxes look so adorable! 🙂
http://www.itrydiy.me
This is really cute! Is there a template I could use, I seem to mess this up a lot, haha.
I didn't make a template for it, but I should!!! Keep your eye out for one over the next few weeks.
That are fab, I was looking for a nice way to package my jewellery and this is perfect – thank you so much.
Rachel (Be Wishful)
Very cute and lovely! We picked it for our Best DIY Jewelry Box Tutorials on our blog: http://eurekacrystalbeads.wordpress.com/2013/11/07/best-diy-jewelry-card-and-gift-box-tutorials/
Congrats!